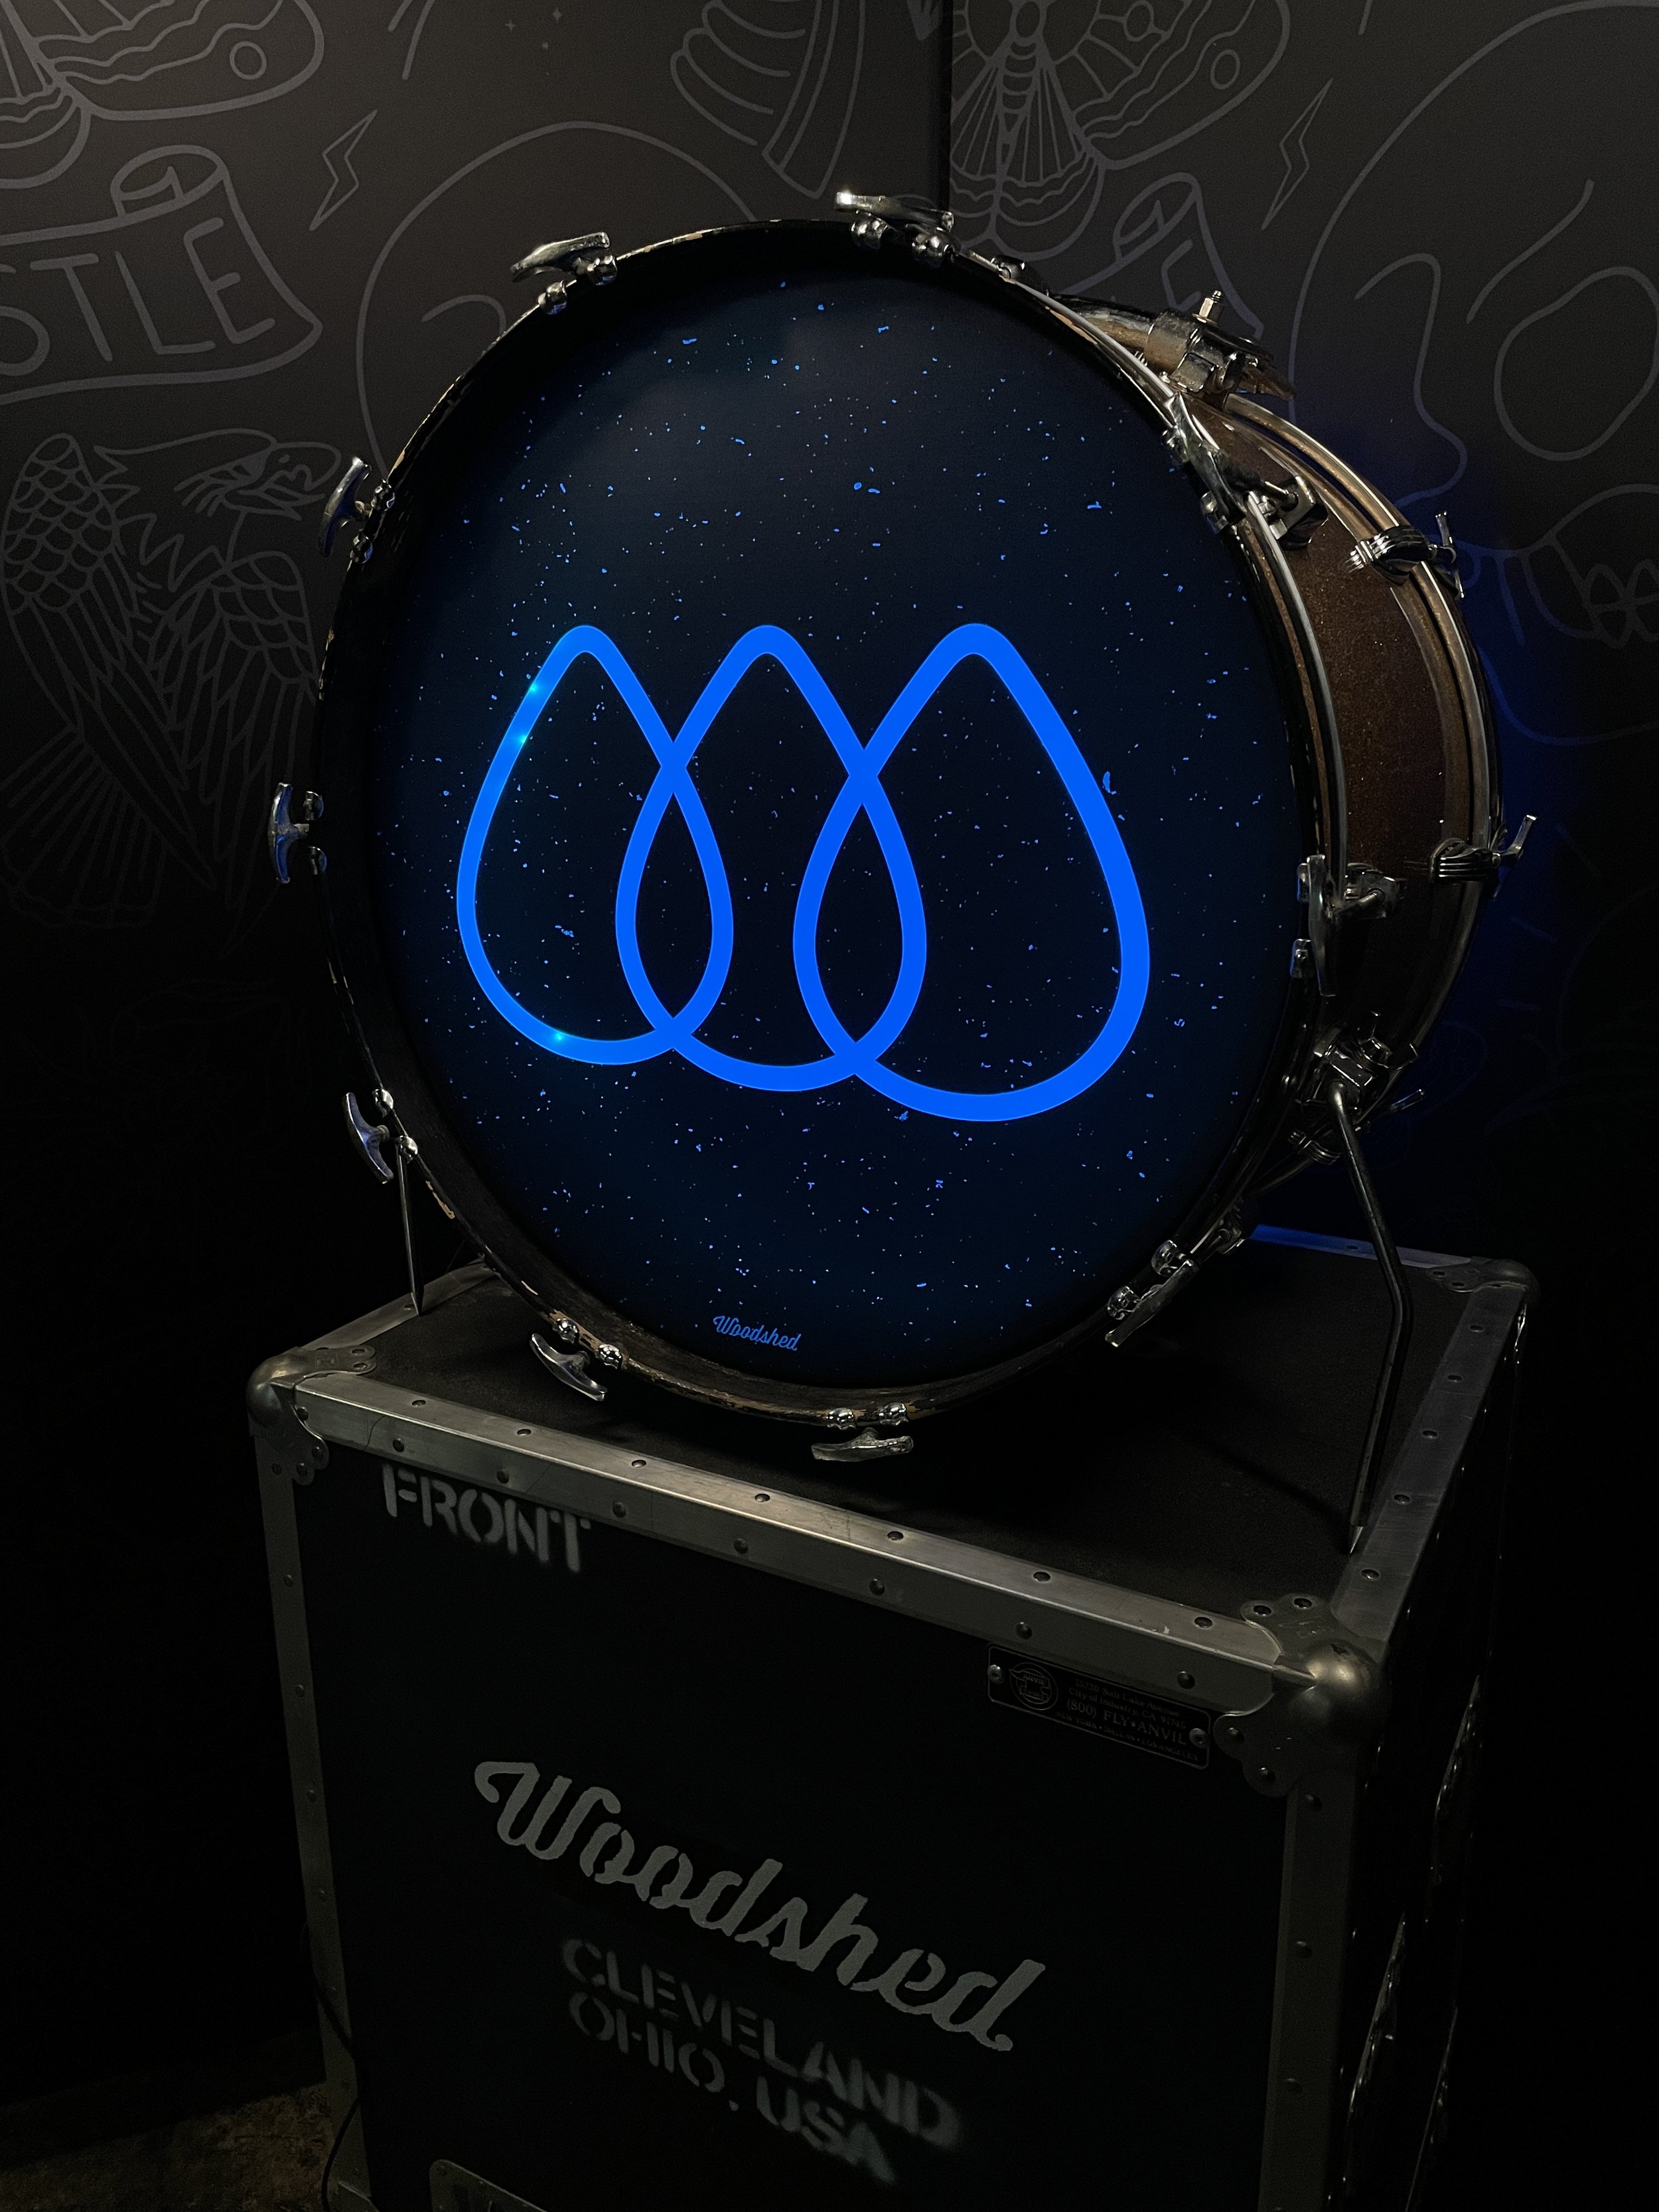
Kick Drum LEDS
LED Kick Lights Installation Guide.
Congrats on your new LED Kick Lights!
Installing your new LED Kick Lights is not as difficult as you might think, and we’ve made it even easier with our step by step instructions.
Questions? Drop us a line anytime, we’re here to help.
WHAT’S IN THE BOX:
LED light strip
Controller
AC Power adapter
Remote
INSTALL TIME:
30 minutes (newbie)
15 minutes (been there, done that)
TOOLS NEEDED:
Drum Key
LED Strip
Controller (“Brain”)
AC Power Adapter
Remote
plan ahead
Install is simple and non-permanent. Set aside about 30 minutes or so to knock it out all in one shot.
First, remove the front resonant drumhead from your kick drum. (You can remove the batter head if you’d rather, but just remember to install the LED light strip closer to the front head.)
Next, plan how you’d like to route the cable out of your kick drum. The most common way is through the vent hole in the drum shell, but your set up might be different. If the flat end of the black LED light strip won’t fit through your air vent, you might opt to drill a small hole in your shell or just run the cable out through your mic hole instead.
Pro Tip:
Before you start, take a “before” pic of your kick drum. You’ll thank us later.
Step 1:
// insert led strip
On the black LED light strip, find the flat end without the connector.
If it fits, insert the black LED strip (starting with the flat end) through your drum’s air vent until the white connector tail stops you from going any further.
The flat, white connector tail should stick out of the air vent as shown in the photo.
If the strip doesn’t fit, you can route the connector tail out of the drum through the mic hole in the front head, or by drilling a small inconspicuous hole near the underside of the drum (near a spur is a great spot).
step 2:
// adhere the led strip
To get an idea of where you want your LED strip once you start applying it to the kick drum, use a measuring tape or ruler. Best results occur when the strip is at least 3” from the edge. We recommend 5″ like the photo shown (but that may differ depending on the your drum’s lug screw hole spacing, if you have an internal mic, etc.)
On the LED strip, start with the end closest to the white connector tail. Peel off the red plastic covering the foam tape and start adhering your LED strip to the inside of the drum shell.
Pro Tip:
Our LED Kick Lights come in one size to fit kick drums from 18in to 24in; if you have a smaller kick, you might come full circle and still have extra length on the LED strip — but don’t worry, you can snip that off at a designated trim mark (look for the white line over a gold square).
Step 3:
// connect the controller
Connect the square controller and remote sensor to the flat connector end of the LED strip. Look closely – you should see two small arrows on the flat connectors, line those up!
Depending on your setup, you might want to use the provided Velcro to adhere it to your kick drum so it doesn’t rattle while you’re playing. This will also allow you to detach it from the kick at any point if you need to.
Step 4:
// connect the ac power adapter
Final step! Connect the AC Power Cable Adapter to the round lead coming off the connector.
Turn on the LED kit using the included remote (remove the clear plastic tab first!). Then, download the free mobile app on your smartphone using the QR code on the Controller for even more functionality.
Congratulations, your install is complete!
Pro Tip:
Take a step back and admire your hard work. Snap a pic of the completed LED kick (lights off, lights on!). Tag us on your social posts (@woodshedstageart). Enjoy a cold beverage to celebrate a job well done.


