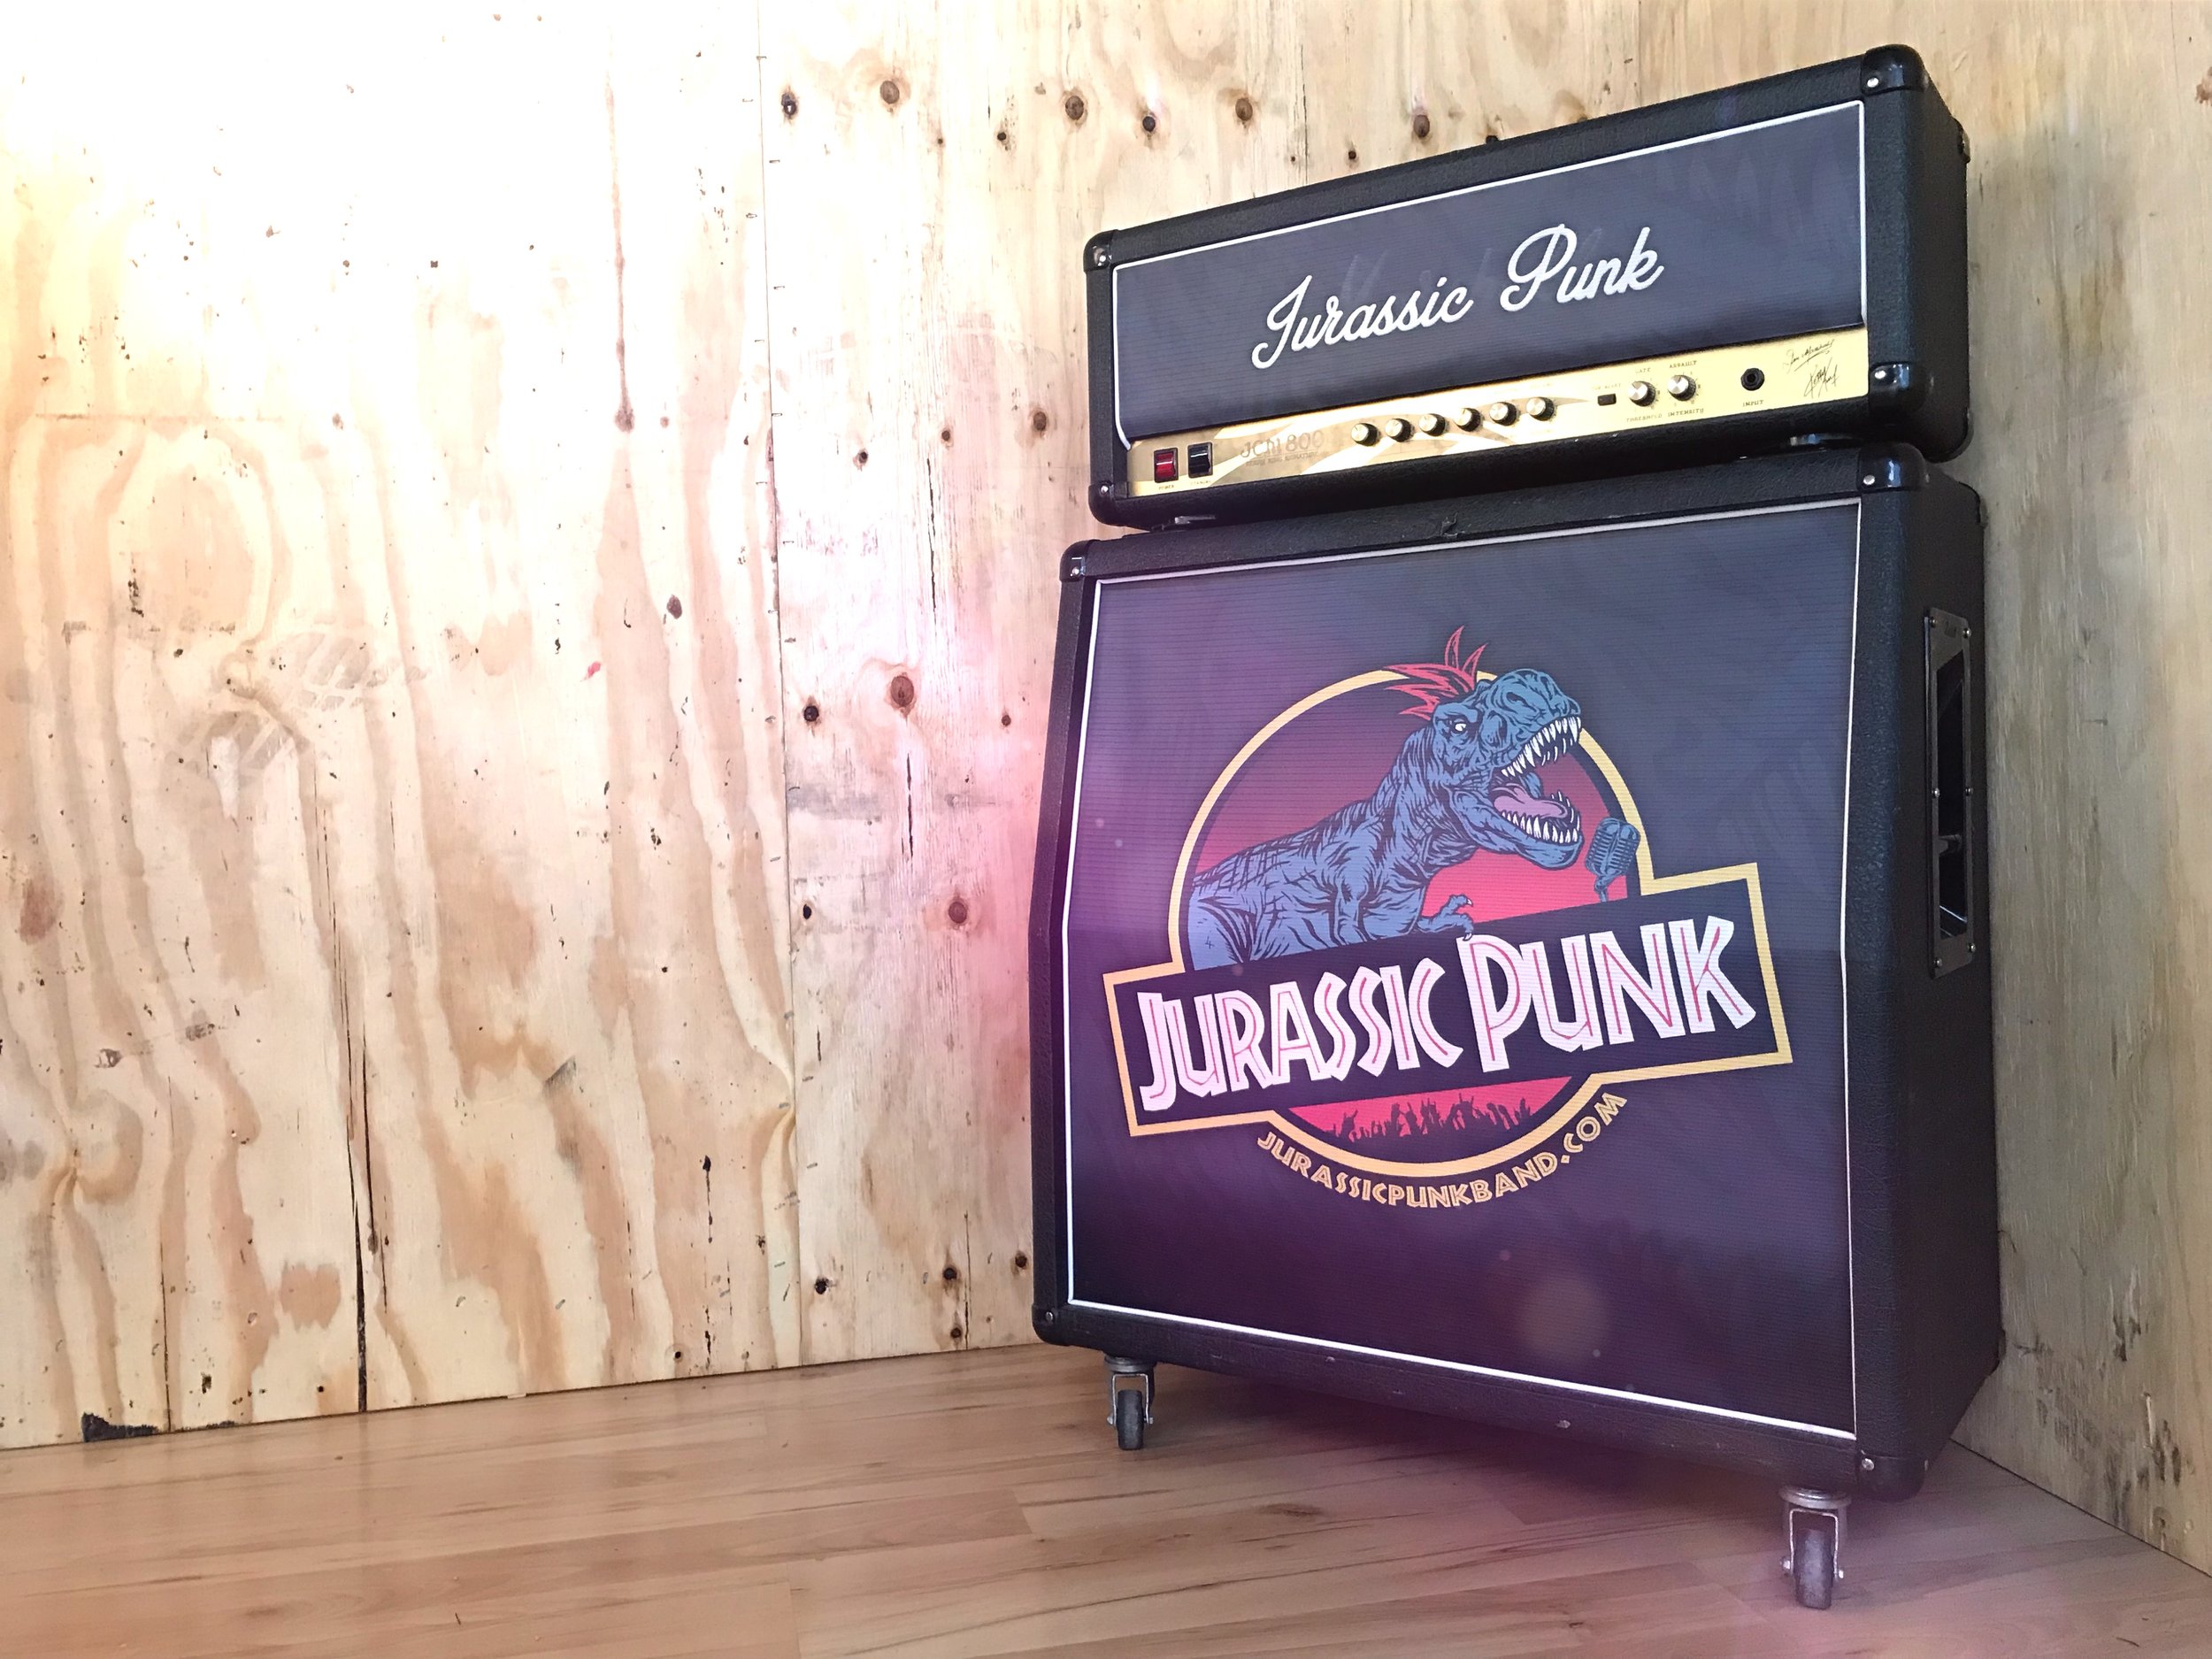
direct print grill cloth
Classic Grill Cloth Installation Guide.
Congrats on your new Direct Print Grill Cloth!
Installing your new Classic grill cloth print is not as difficult as you might think, and we’ve made it even easier with our step by step instructions.
Questions? Drop us a line anytime, we’re here to help.
TOOLS:
Flat-head Screwdriver
Phillips Screwdriver
Ziploc Bag (for screws)
Staple gun (pneumatic is best)
TIME:
60 minutes (newbie)
20 minutes (been there, done that)
Step 0: Get Ready for Install
Install isn’t hard, just takes some time. Set aside an hour or so to knock it out all in one shot, and get your tools together before you start.
Pro Tip: Before you start, take a “before” pic of your cab. You’ll thank us later.
Step 1: Remove Back of Cabinet
Most cabinets have a removable back panel held in by several screws around the perimeter (and sometimes one in the center). Remove each of these screws and gently remove the access panel from the back of the cabinet.
Next, disconnect the red and black speaker wires that lead to the input jacks on the back of the cabinet panel.
Pro Tip: Once the back panel is off, put the screws in a ziploc and take a picture of the wires before disconnecting them. (this will come in handy when you’re putting the cabinet back together.)
Step 2: remove handles
If your cabinet has recessed handles on either side, you’ll likely need to remove them to get the speaker baffle board out of the cabinet. Remove both handles by removing the screws.
Pro Tip: Put those tiny little screws in a ziploc.
Step 3: Remove front emblem
If your cabinet has a logo emblem in the center of the grill cloth (e.g., Marshall or Mesa), or down in the corner (e.g., Marshall 1960), you’ll want to remove these now. Most are stuck on with pegs, but some require a phillips head screw driver. Badges with hidden pegs just need a gentle pry from a flat head screw driver but most you can work out with just your hands.
Pro Tip: Be careful not to bend or break them in case you decide to reinstall them in the future.
Step 4: remove baffle board
The baffle board is the vertical board that the speakers are mounted to. Remove the screws that secure the baffle board to the inner frame.
Pro Tip: The speakers do not need to be removed and you should not remove any of the screws that hold the speakers in place.
Once you’ve removed all of the screws, you should be able to lean the top of the baffle board towards the back of the cabinet and lift it up and out of the cabinet, over the inner frame.
Step 5: remove old grill cloth
Almost there! To remove the old grill cloth, remove all the factory staples holding it in place. (If you’re feeling lazy, you can put the new grill cloth print right over top of the factor one, but we don’t recommend it.)
Pro Tip: You can use a flat head screw driver, needle-nose pliers, or the staple remover you swiped from Carol’s desk.
Step 6: staple new grill cloth
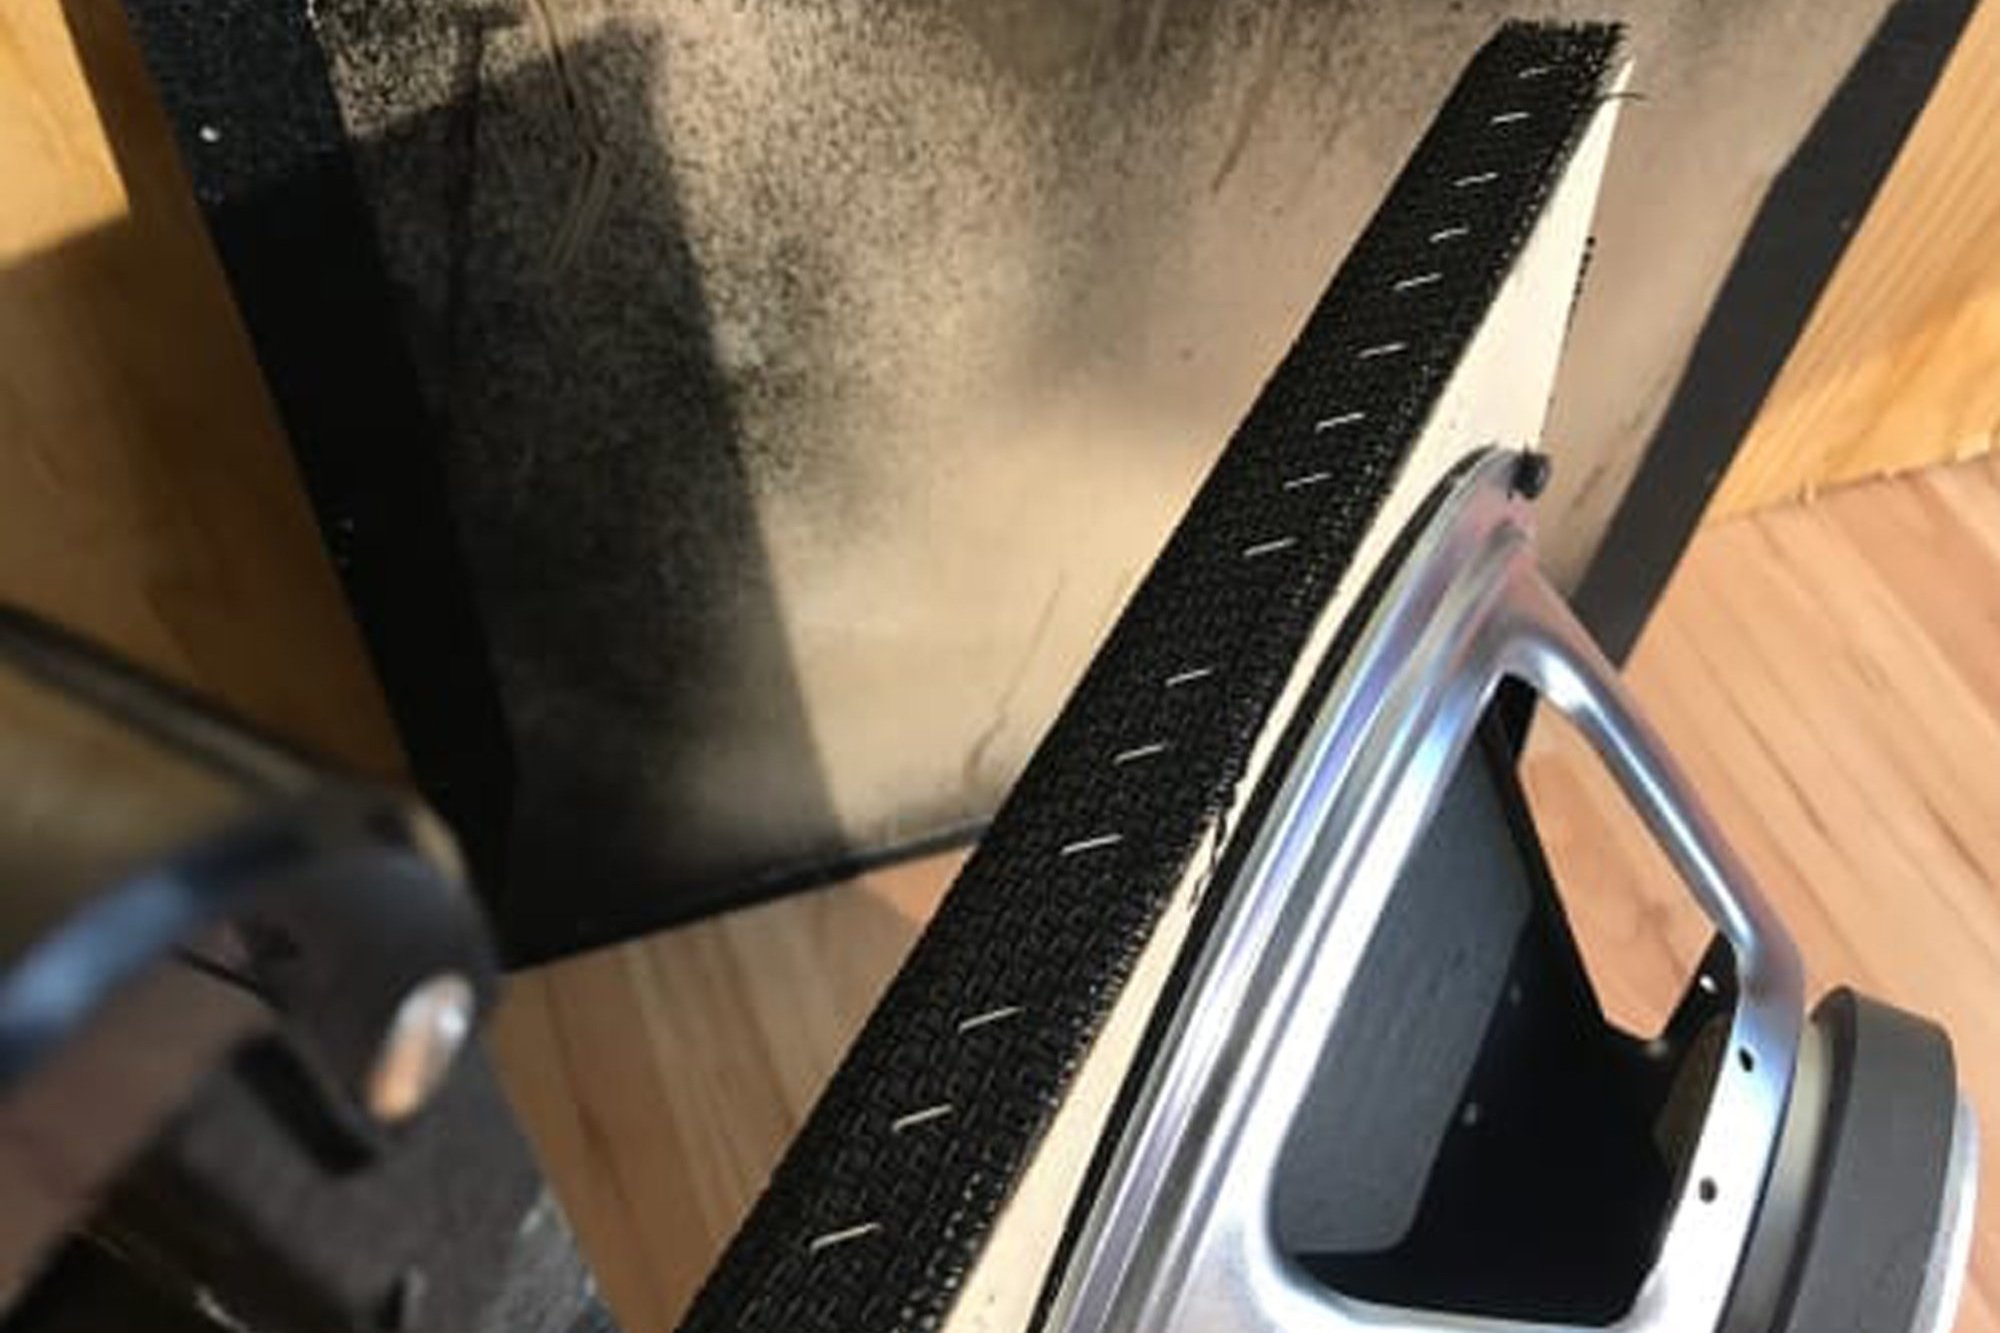
To install your new grill cloth, place your new grill cloth print face-down on a clean table or clean floor and center your baffle board face-down on top of it. (Unless you’ve specified otherwise, we’ve added 3″ of extra material on each side so you can fold over and staple.) You can measure each side with a tape measure to make sure you are lined up correctly before going on to the next step.
Once lined up, start at the top with a couple staples on the backside to hold it in place. Flip it over and check your alignment. If it looks good, hold it taught and add a few more staples at the bottom on each side. Follow this for the two sides as well. Flip it over and check again. Looking good? Great. Add additional staples every few inches all the way around.
Pro Tip:We recommend wrapping the grill cloth around the back of the baffle board, but you can staple straight to the sides if you choose (trim the excess after install).
Step 7: put the cabinet back together
Final step! Putting your cabinet back together is as simple as following the previous steps, just in reverse order.
Now that your new Direct Print Grill Cloth is attached to the speaker baffle board, slide the baffle board back into the cabinet, and screw it back in. Reinstall the handles on either side of the cabinet and screw them back in. Attach the speaker wires to the input jacks on the back of the cabinet. Reinstall the back panel. (If you want to reinstall that Marshall logo, you can do that now.)
Pro Tip: Take a step back and admire your hard work. Snap a pic of the completed cab. Tag us on your social posts. Enjoy a cold beverage to celebrate a job well done.


